It is very easy to overlook cleaning one’s motorcycle helmet. It is a necessary step to make the helmet last longer since it tends to be a pricey investment.
There are numerous steps involved in the process of cleaning your motorcycle helmet.
- Gather your motorcycle helmet cleaning materials.
- Remove the external parts.
- Remove the internal parts.
- Prepare and clean the helmet shell.
- Wash the helmet lining and padding.
- Clean the visor or sun shield.
- Reassemble once dried.
Deep-cleaning your motorcycle helmet should be done every few months so as to get rid of unpleasant odors that may arise from your sweat, bacteria, and constant exposure to a dirty environment. Don’t forget about cleaning the helmet when doing your motorcycle maintenance routine.
How To Clean Your Motorcycle Helmet: Step-By-Step Process
This section will discuss how you can clean your motorcycle helmet in the correct manner. It’s not as simple as dunking the helmet in soapy water and then letting it dry.
Gather Your Cleaning Materials
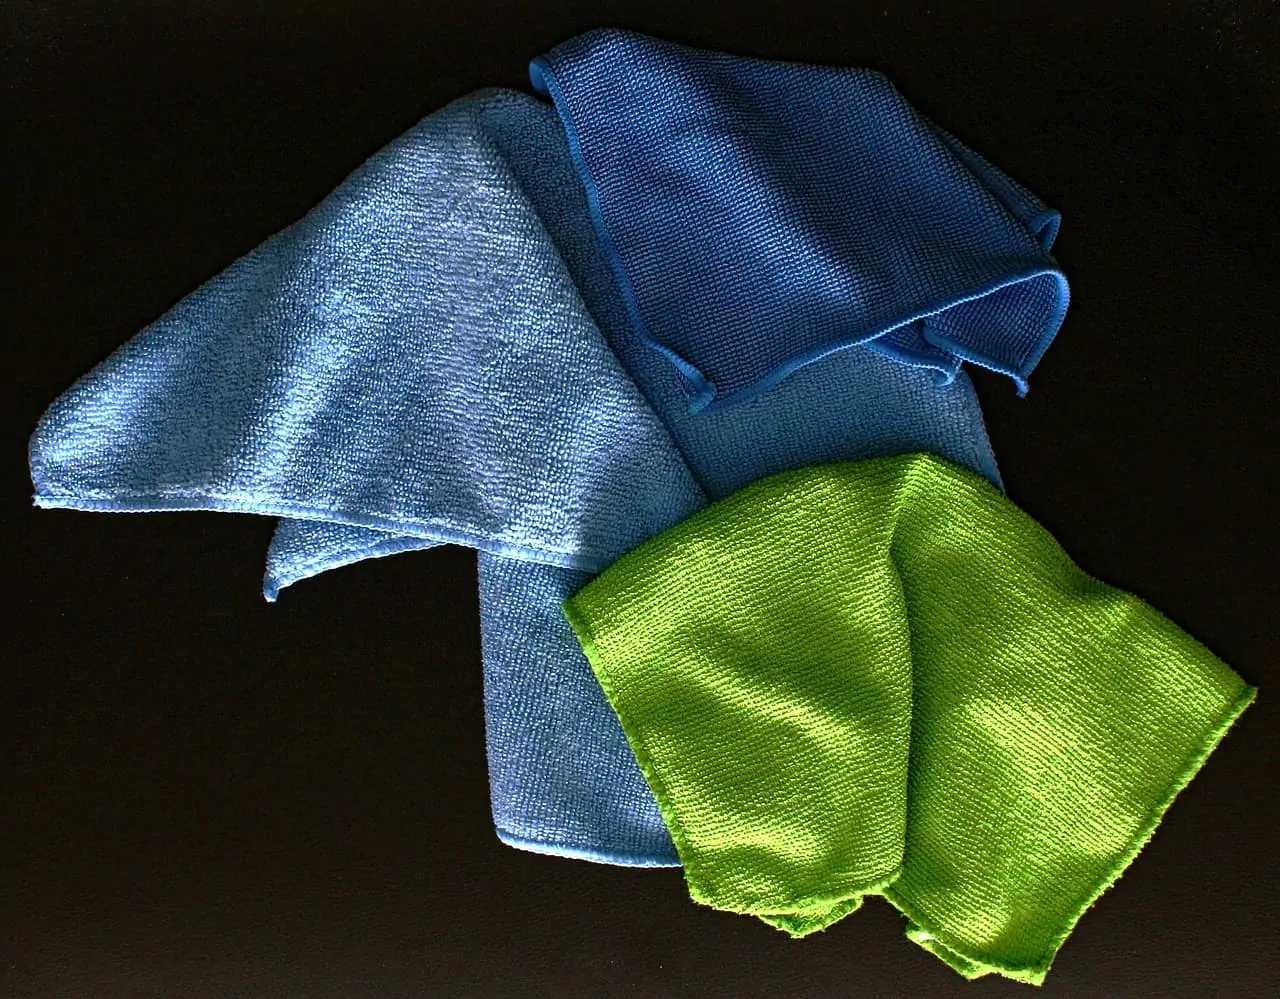
The first step is to prepare your cleaning equipment. This includes microfiber rags, a toothbrush, baby shampoo, and warm water.
Microfiber rags work well because of the gentle texture that won’t scratch nor damage the surface of the helmet shell as well as the visors. It’s also the perfect fabric because of its water retention capabilities.
A toothbrush is for gently scrubbing some of the accumulated dirt and stains on the surface of the helmet. It’s not advisable to use on the visor as it can scratch it. Go for a toothbrush with soft bristles. The toothbrush is for cleaning the nooks and crannies that a microfiber rag will be unable to reach.

Baby shampoo is an excellent cleaning agent because of its gentle nature. The general rule is to opt for a cleaning agent that does not contain petroleum. This will be mixed with warm water.
Remove External Parts
This includes all the electronics and other accessories that come with your helmet. Electronic accessories are prevalent in modern models of motorcycle helmets. These are naturally sensitive to water which is why you should get them out of the way. That includes batteries, antennas, microphones, and Bluetooth earphones.
Remove Internal Parts
The internal parts primarily consist of the liners and comfort pads. Strategically and gently tug them away. This depends on their attachment method. Some common ways by which liners adhere to the inside of your helmet include magnets, hooks, snaps, and many more.
Make sure to consult the manual for the helmet so that you don’t ruin the liners and pads. Set these aside as you’ll wash them, too.
Helmet Shell
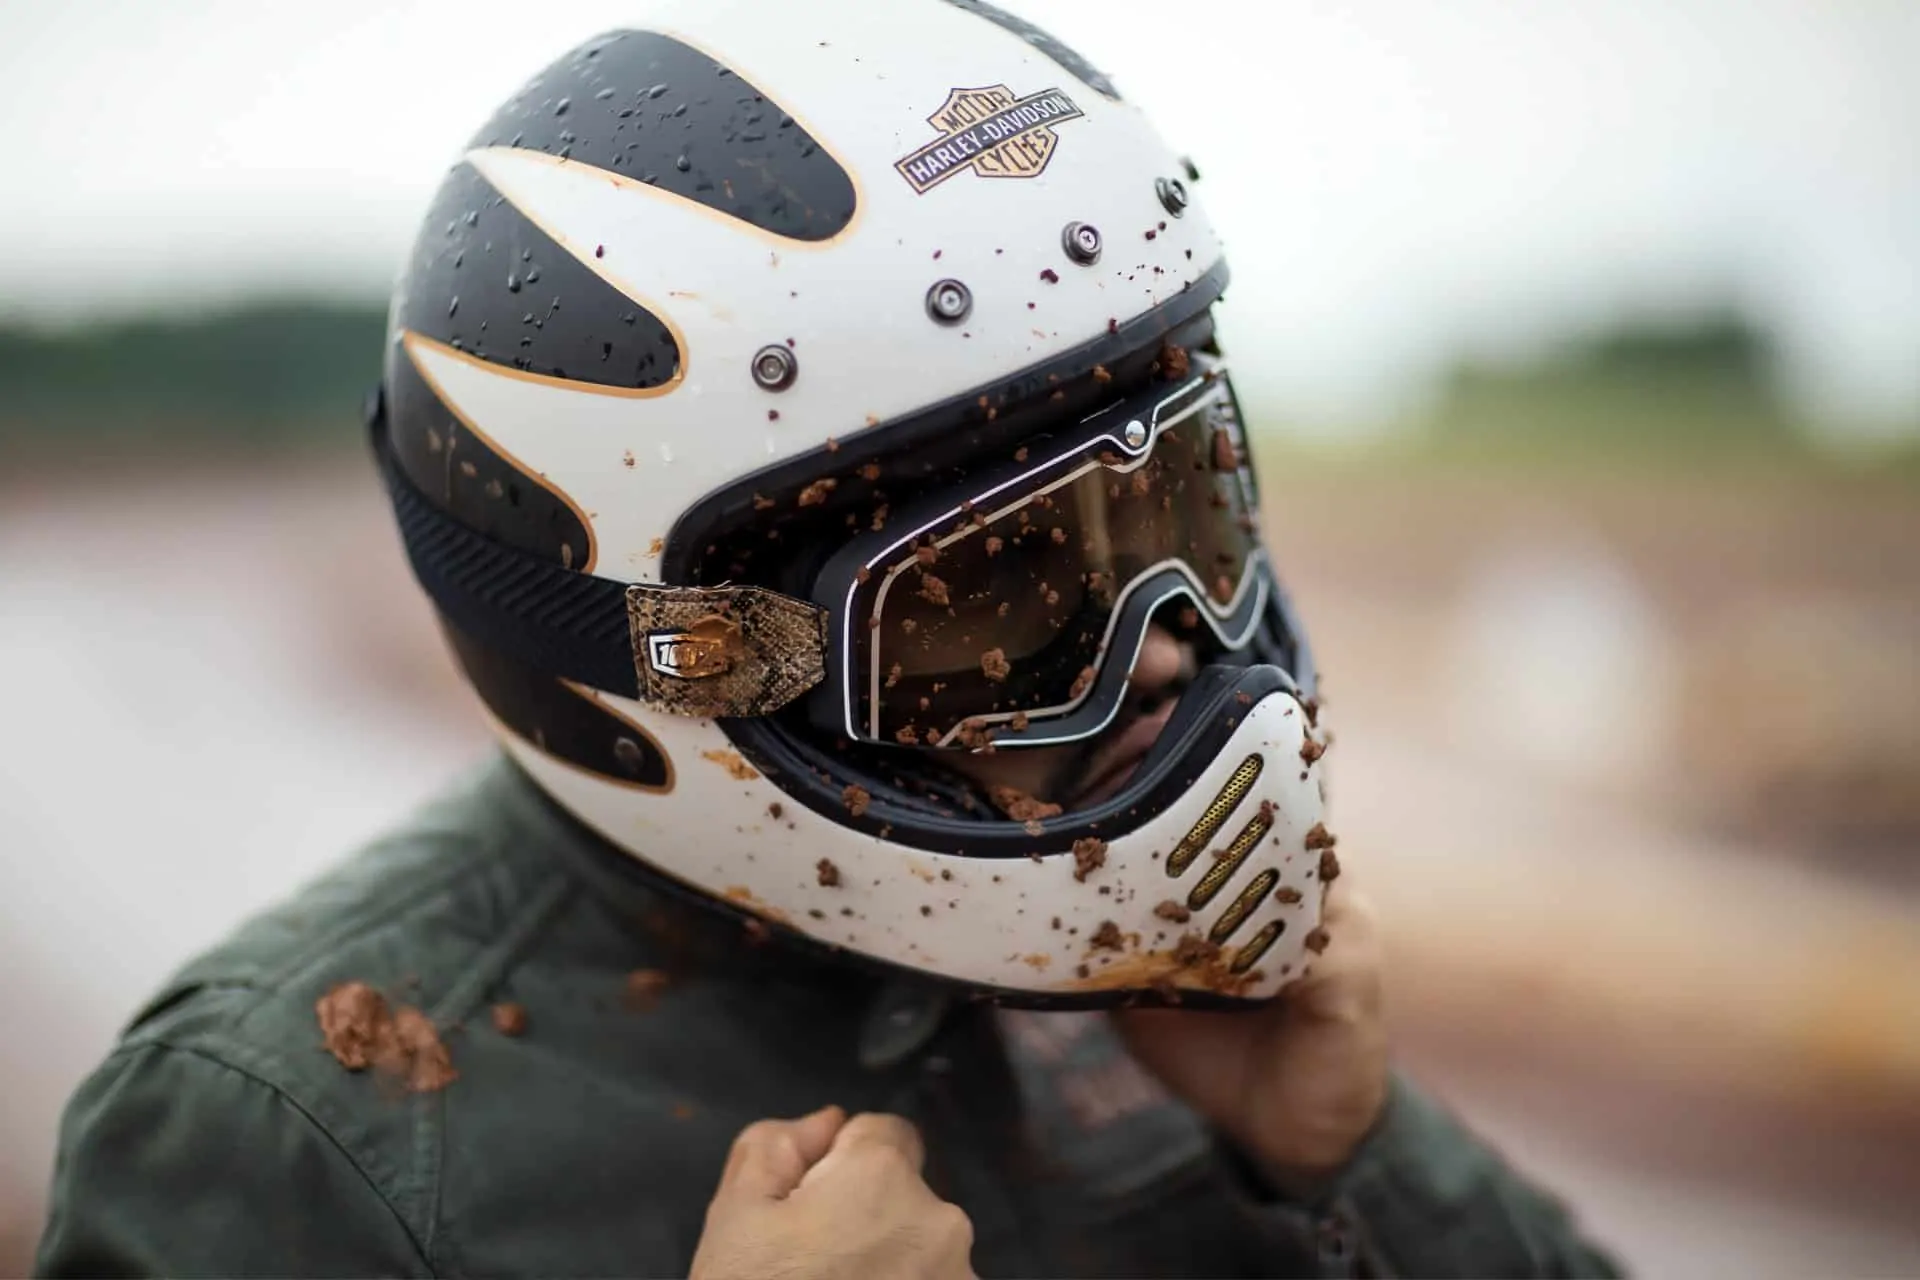
Take your microfiber rag, soak it in some warm water, and then drape it over the motorcycle helmet shell. The warmth and moisture will soften any caked mud or dried bug guts. This will eliminate majority of the dirt so that you don’t have to scrub as hard later on. This will prevent any scratching. Allow the towel to soak the surface for a few hours.
Remove the visor or sun shield and then set that aside for later. Use the towel to rub away any obvious dirt and stains. Use the toothbrush to target the smaller and trickier spots. It’s advisable to use only water as any other solvent or harsh cleaning agent can potentially weaken your helmet.
Wash The Liners And Padding
This is usually the dirtiest part of the motorcycle helmet. It’s exposed to sweat, oils, and other dirt that have accumulated over time. Fill the sink tub with warm water and dissolve in some baby shampoo. Soak the liners and padding and gently massage them. Once done, hang these in a well-ventilated area to let them air-dry overnight.
Clean The Visor
The visor is the transparent bar that protects your eyes while allowing you full visibility on the road. This is tricky to clean because you cannot risk scratching it as that will impede your vision on the road.
Take the microfiber rag and soak it in warm water. Use it to gently rub across the surface of the visor to remove any visible dirt or bug guts. You can use the baby shampoo mixture to eliminate any grime. Pat dry once done.
Reassemble
Once everything is thoroughly cleaned and dried, simply put the parts back to their respective places. Your helmet is now clean and ready to be used.

Things To Avoid
There are a couple of things you should avoid while cleaning your helmet so that you avoid damaging it and its parts.
Scrubbing
Never scrub your helmet. This will cause scratches on the surface. You should particularly avoid scrubbing across the visor or sun shield area because the scratch marks can mess with your vision, which poses risks while you are riding your motorcycle.
Water Jet
A strong stream of water against your helmet isn’t advisable. This can cause damage to important parts of the motorcycle helmet, such as the upholstery as well as the ventilation system. It’s better to clean your helmet with a gentler stream of water.
Fabric Softener
This isn’t advisable because the components of the softener will mess with the moisture-wicking feature of motorcycle liners. The softener will make the threads of the fabric looser and therefore less capable of wicking fluids like sweat and oils from your scalp. This will make the liner more susceptible to absorbing these fluids.
Motorcycle Helmet Maintenance
Preventative maintenance is another key factor in making your motorcycle helmet last longer. These habits will delay the deterioration of your helmet so that you no longer have to replace it frequently and lessen the frequency of washing it.
Add A Protective Layer
The sweat and oil from your scalp can be absorbed into the lining of your helmet and cause unpleasant odors. The bad smells are usually caused by odor-causing bacteria that’ll inhabit the interior of your helmet. Try wearing a skullcap or a bandana on your head before wearing the helmet. This adds a protective layer that will protect the liner of the helmet.
Use Cleaning Wipes
Place a pack of cleaning wipes in your U-box at all times. Wipe down your helmet every now and then to prevent the accumulation of dirt that can cause stains.
Bug guts are serious issues during bug season wherein these bugs will accumulate on your helmet, particularly on the visor. You can use the wipes to eliminate bug guts before they harden on the surface of your motorcycle. Hardened guts will be tricky to remove and it might even lead to you scratching the surface of your helmet or visor.
Air Your Helmet
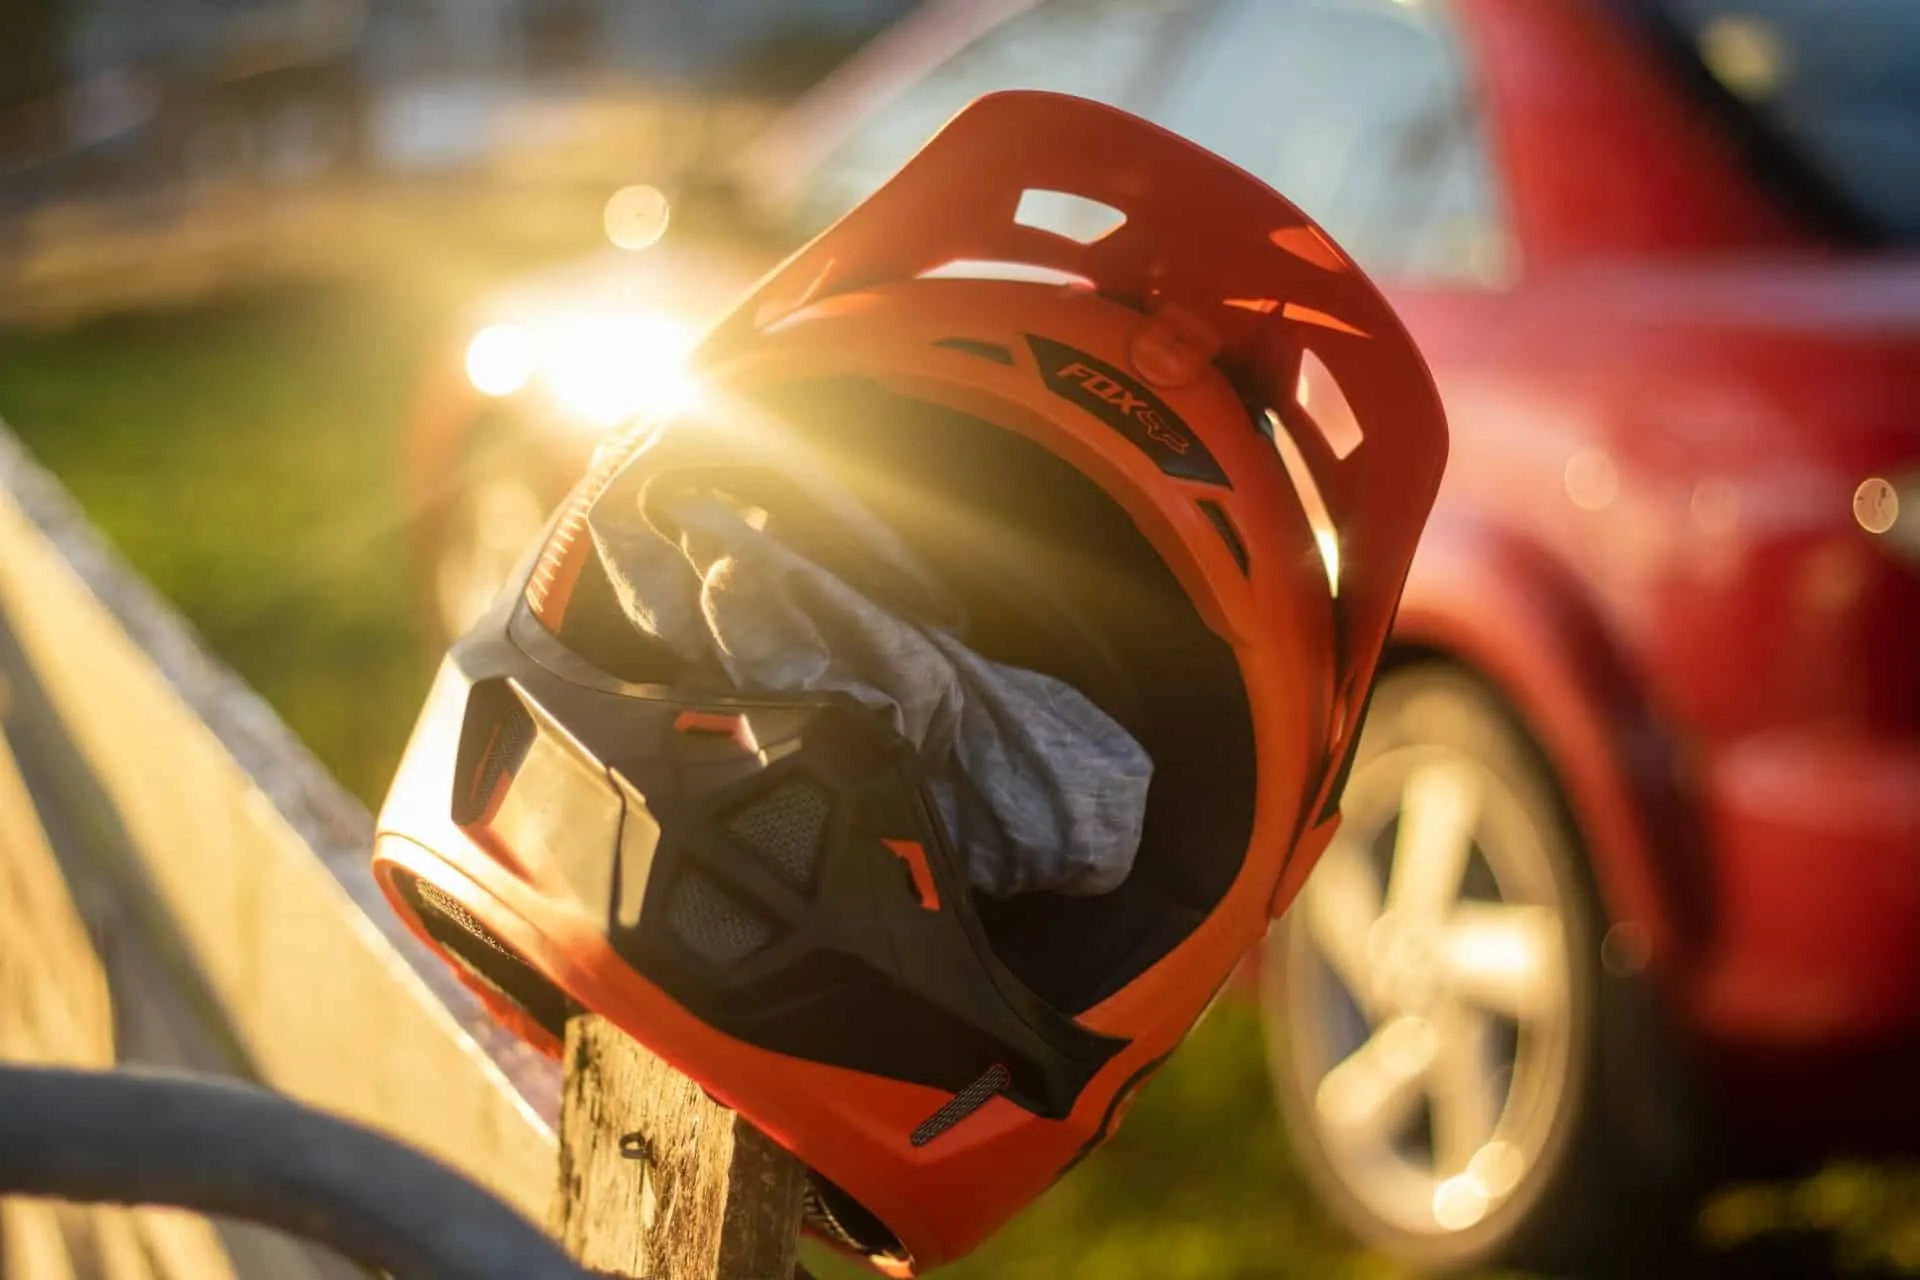
After using your helmet, it isn’t advisable to immediately stow it away in a container with no proper air circulation. It’s a good idea to let it air out first. Leave your helmet out overnight before stowing it into a bag.
This allows the sweat to evaporate so that the odor won’t be as bad. It also prevents the accumulation of mold that may arise from excessive moisture.
