Motorcycle detailing is important for motorcycle maintenance. It keeps your ride clean, presentable, and in top shape.
The average cost of getting your motorcycle professionally detailed is two hundred to six hundred dollars per session. It is cheaper to get your own motorcycle detailing kit and just do it yourself. This includes washing, waxing, polishing, mirror cleaning, and tire cleaning.
Detailing your motorcycle can also be an enjoyable activity, especially for motorcycle hobbyists and enthusiasts. The steps for detailing your motorcycle include:
Prepare Your Motorcycle Detailing Kit
This will be undoubtedly expensive, but you’ll save a lot of money in the long run when you do it yourself rather than paying for motorcycle detailing sessions. For the tools, you’ll need:
- Air compression
- Water hose
- Boar-bristle brush
- Water bucket
- Microfiber towels
- Rags
- Chain brush
- Wheel brush
For the cleaning agents, you’ll need:
- Motorcycle shampoo
- Motorcycle wax
- Sealant
- Polish (plastic and metal)
- Plastic protector
- Lubricant
If you happen to not have a lot of the necessary things, you can just grab one of those Complete Care Kits from amazon.

Wash The Motorcycle
The first step is to give the motorcycle a general cleaning. This eliminates superficial dirt on the surface of the motorcycle.
Wet And Soak
Wet all of the surfaces of the motorcycle and allow the water to soak into the surface for a while. This will soften any caked mud and make the crud fall off. Repetitively wet the motorcycle so it doesn’t dry out, especially if it’s a sunny day. Don’t forget to plug the exhaust pipe with an exhaust plug or an old rag so the interior doesn’t get wet and damaged.
Pressure Rinse
Take a hose with a pressurized stream of water and run it over the motorcycle. This removes the dirt and crud from the motorcycle. It is recommended to use electric pressure washers over gasoline-powered washers because they produce a stronger and more reliable stream of water.
As you do this, avoid the major electrical components of the motorcycle because the pressurized water can damage the cables and dislodge some parts.
Use Motorcycle Shampoo Or Strong Detergent
The motorcycle shampoo will clean the surface so that all that’s left is the motorcycle itself. This will wash away everything, even the motorcycle wax. If you don’t have any motorcycle shampoo, you can use a strong detergent for this step. Rinse off the suds with the pressure hose.
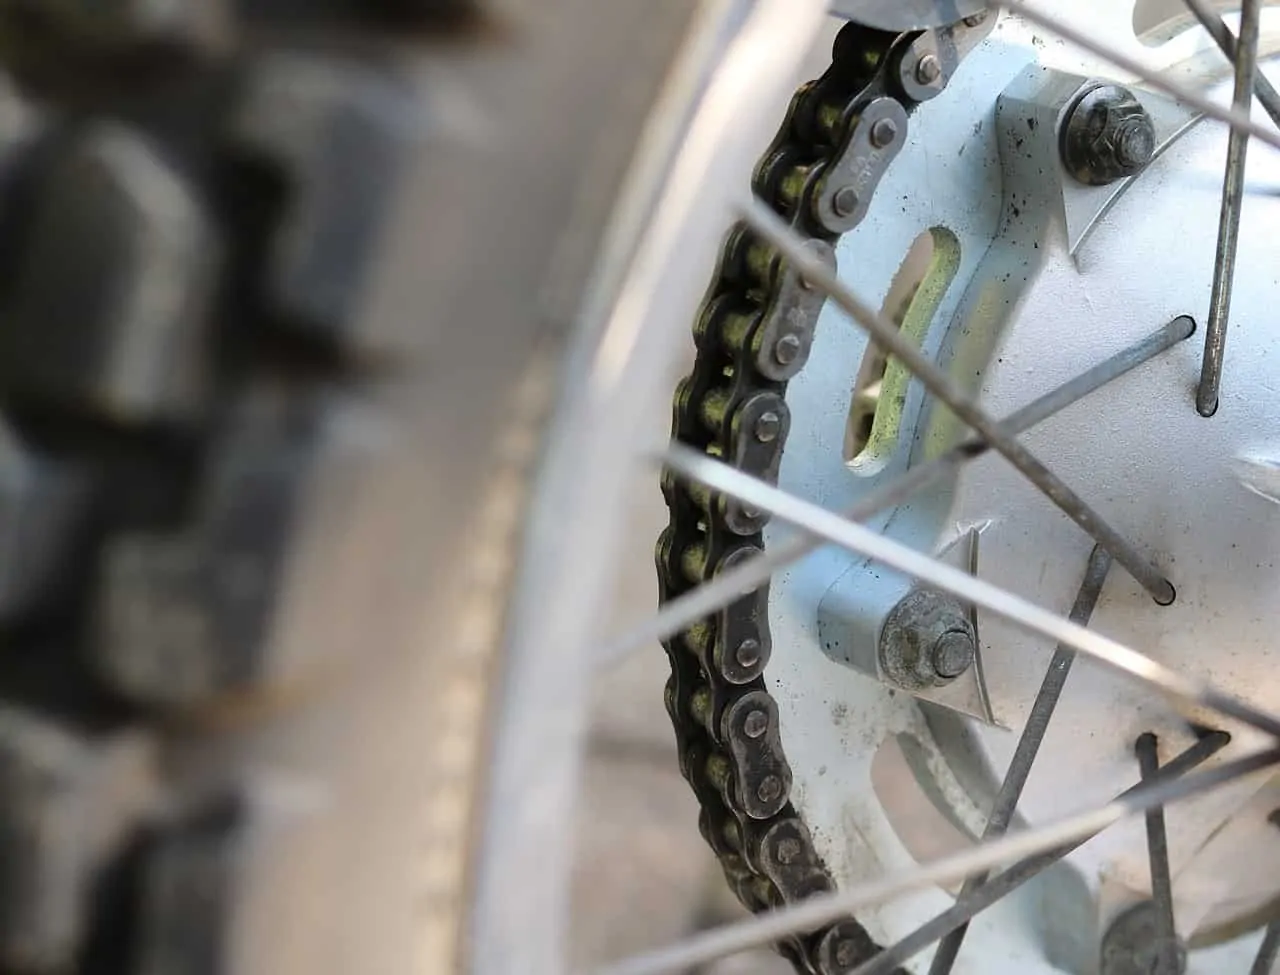
Scrub the wheel rims with a wheel brush. Use a chain brush to remove rust buildup on the motorcycle chain.
Claying
A motorcycle clay bar is applied after the general cleaning. It makes the paint job feel smoother to the touch. This gets rid of any grit on the motorcycle surface that you can’t scrub away. Its effect feels like it shaves off the excess paint so that you’re left with a smooth finish. Simply spray your motorcycle with the accompanying lubricant and then rub the clay bar over the problem areas.
Do a second wash on your motorcycle. This gets rid of the excess clay and targets the nooks and crannies of the motorcycle. Wash the engine and bodywork with motorcycle shampoo. Rinse the suds with a gentler stream of water from the hose.

Clean The Motorcycle Wheels
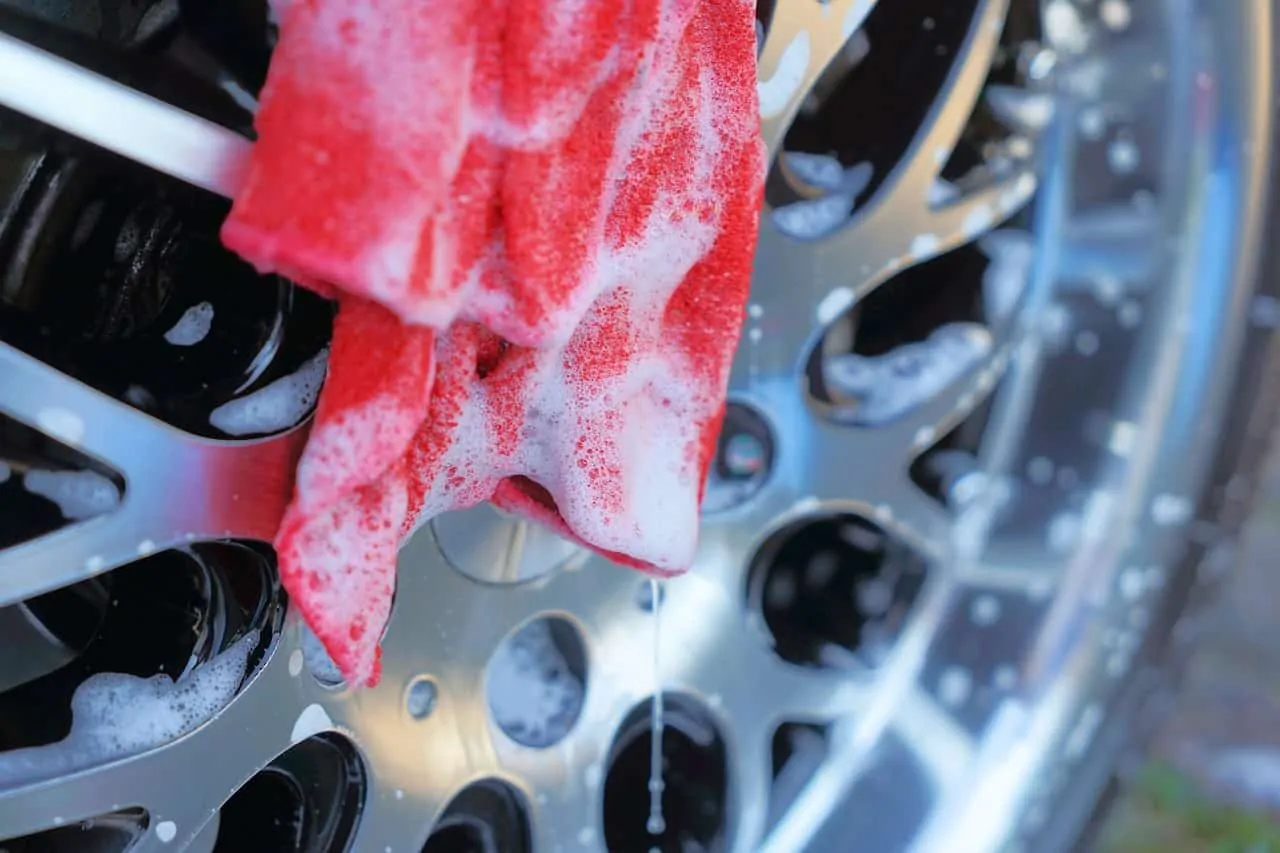
It is important to clean the rims by hand to prevent damage. This will take some time as you’ll deal with caked dirt, mud, and lube splatters. Spray some wheel cleaning gel on the rims and let it soak. Wipe off the product after a few minutes. You can also use some motorcycle shampoo to target other dirt and gunk. Prop up the front wheel with a wheel stand for easier access.
Polishing And Glazing The Paint
Your motorcycle paint job may get scratches over time. Take some paint polish, place it on a microfiber towel, and then rub it over the problem spots until the scratches disappear. Next, get rid of the excess polish by washing the motorcycle once more with some motorcycle shampoo. Immediately dry the motorcycle to avoid water spots and to preserve the polish.
The next step for motorcycle detailing is to glaze the paint. This targets the deeper scratches that a motorcycle polish can’t take out. The glaze will fill in the gaps so that the paint will appear smoother. The shine will also look uniform and silky.
Polish The Metal
Polish any exposed metal or chrome to get rid of the rust buildup. Most metal polishes can melt away the rust to expose the shiny metal underneath. For more severe cases, you may use mild acids or oven cleaners to eliminate the rust before applying the metal polish.
Protective Wax And Plastic Protector
To preserve all your hard work, use a sealant. This is just like a longer-lasting version of motorcycle waxes. Sealants last for a very long time so you can save a lot of money. One high-quality bottle is enough for a year’s worth of motorcycle detailing. I personally use Nextgen Hydrophobic Ceramic Spray that I purchased from amazon – here.
Spray/rub the sealant on the motorcycle bodywork, glad parks, light housings, and the dash. You can even apply two coats for extra measure. Sealants provide UV protection against the sun. This slows down aging and prevents paint discoloration.

Apply the plastic protector on the plastic parts of the motorcycle. This makes the plastic shine and eliminates white residue. An oil-based protector is great for achieving that brand-new look. You must avoid applying it on matte surfaces at all costs because it is hard to remove. You can also apply this product on the tire sidewalls.
Final Tips
Apply some lubrication on the motorcycle chain. This prevents the onset of rust and keeps the parts in good working order.
Work slowly and carefully. Your attention to detail greatly matters because a sloppy detail job will just undo all your investments in your motorcycle detailing kit. After applying all the products, go over the motorcycle one last time with a microfiber towel, buffing the product in as you go.
Another tip is to work on a day with good weather. Remember that detailing will take at least four hours so the weather should be consistent during that timeframe. Park your motorcycle under some shade because an overheated motorcycle will react poorly with the waxes and sealants.
Avoid using metal or bristled brushes that can scratch your motorcycle. Work gently when removing the dirt and gunk buildup.
