Cleaning the motorcycle gas tank is an important part of your motorcycle maintenance routine. This helps eliminate any debris and buildup that can cause your gas tank to be ineffective in the combustion of air and fuel.
The cleaning method of the motorcycle gas tank depends on the severity of the dirt and rust buildup. You can simply scrub away mild corrosives and dirt. Rust can also be taken care of using cleaning solutions, the most common of which is a mild acid with agitators. However, severe cases of corrosion will mean that you have to replace the entire gas tank. There are a couple of maintenance tips that you can apply in order to delay its degradation.
Cleaning is not an absolute solution because there may be instances when you’ll need to get rid of the tank altogether and then get a new one. It all depends on the type of dirt and how bad the rusting situation is.
How To Check The Condition Of The Gas Tank
The first thing you should do is to assess the situation. Open the tank and take note of three things: general condition of the tank, the model of the gas tank, and the rust level. An overview allows you to plan out your next step.

General Condition
This pertains to an overview of the motorcycle gas tank. Take a look at its construction and see if it can actually withstand a rigorous cleaning session with acid. Old motorcycle models have very thick gas tanks. The newer models are often made of lighter gauge material.
Thin tanks may not be able to withstand deep cleaning and will need to be replaced altogether. Replacement is also the better option if the rust has eaten away the layers of the tank and renders the entire thing susceptible to holes and damage.
Model Of The Gas Tank
If you intend to replace the gas tank, you first need to assess its rarity. High-production tanks are so much easier to replace than low-production ones.
You should also consider the effect of the acid or cleaning agent on the paint job of your tank. See if you can recreate the original paint or if it is time for a complete replacement of the gas tank.
Rust Level
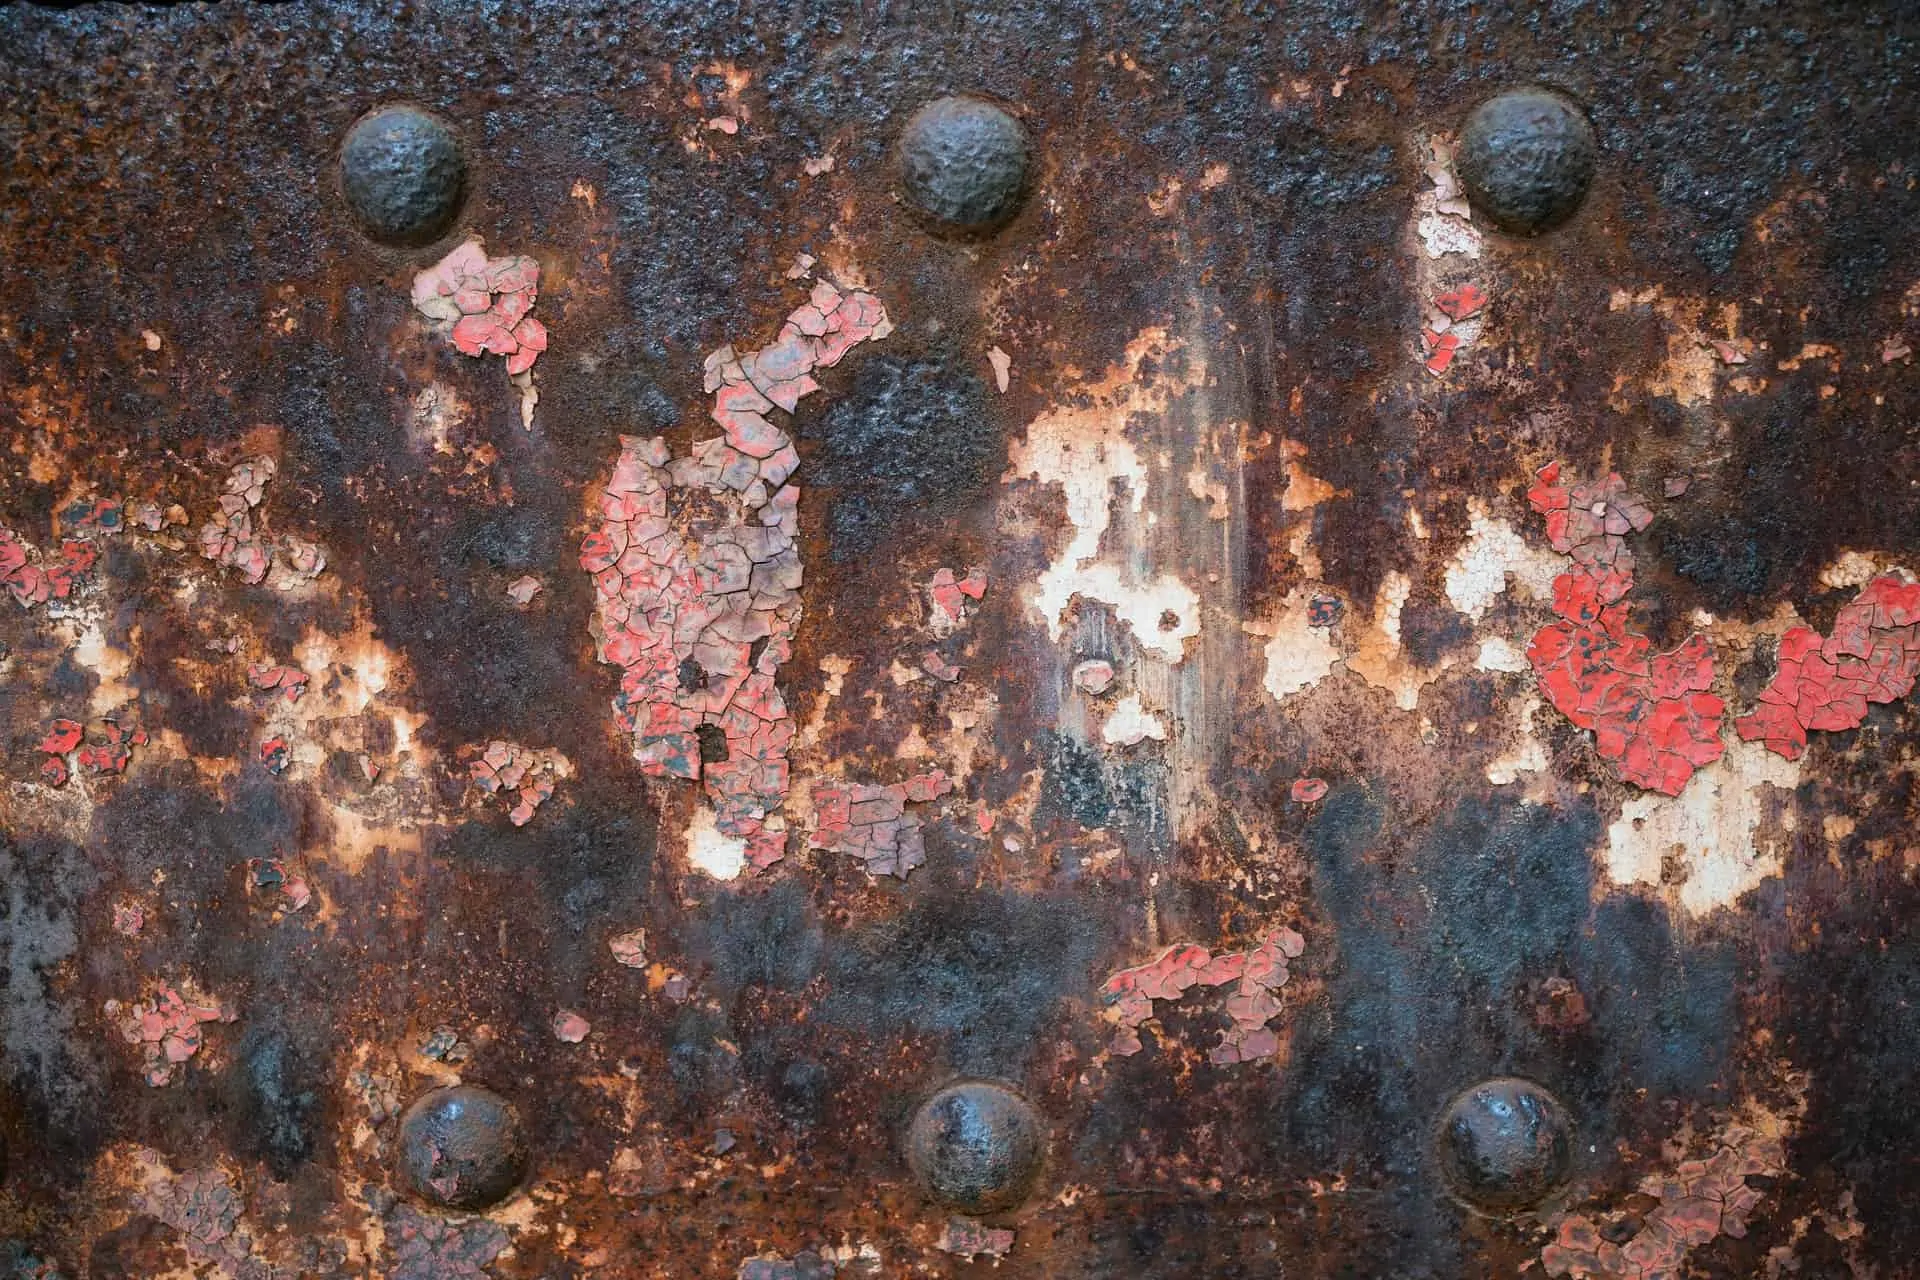
Rust is a common issue among motorcycle gas tanks. It is a reddish brown oxide formed from the reaction of iron and oxide. It is a dangerous element because it can eat away at your motorcycle gas tank and damage its structural integrity.
Rust Abatement Methods
Rust abatement methods can be performed to remove the layers with rust so as to salvage the rest of the tank. There are three methods that you can choose from.

- Manual
This refers to the manual process of eliminating rust. You can use a steel brush to scrub the rust off of the metallic surface. This is great as a preliminary step so that you’ll have less rust to work with.
- Chemical
This is the most common cleaning method as it penetrates the tank deeper and it is much more effective at eliminating rust. As the name implies, this classification utilizes chemicals like acids to eat away the rust. The only downside is that it can cause metallic corrosion. This is not advisable to use on old tanks.
- Mixed
A hybrid of manual and chemical abatement methods is an effective way to eliminate rust. You can do the manual abatement as a preliminary step so that the chemicals will be for the more serious cases of rusting. This is gentler on the tank and can extend its viability.
How To Remove Rust
There is a step-by-step procedure that you can follow to remove the rust from your motorcycle tanks. This method will leave you with professional-looking results.
Prepare Your Tank
Before you dive into removing the rust, make sure to prepare it by emptying all the fuel. After draining the fuel, make sure to seal the holes again to prevent the leakage of harmful chemicals. You can use silicone plugs or vacuum caps. You should also pay attention to sealing the crossover tubes and petcock outlets.
Clean Outside
Make sure to lay out your supplies outside where there is proper ventilation. The harmful gases from the chemicals can cause respiratory issues. You should also wear the proper protective gear to shield yourself from the acid. Don gloves, a mask, and a pair of goggles. Failure to do so can cause discomforts like migraines and nausea.

Check The Volatility
Volatility refers to the reaction of the agitator and the cleaning agent. Some brands may have extreme chemical reactions that will result to health risks and may even damage your motorcycle tank. This step is easy. Simply mix the cleaning agent and the agitator in a bowl and leave for a while. There should be no vigorous reaction like bubbling or the release of smoking gaseous elements.
Abatement Of The Rust
It is time to deal with the rust. The first thing to do is to add the acid into the tank. There is a wide range of gentle acids on the market, I personally use FDC 99.6% PURE OXALIC ACID it comes with an easy to follow guideline manual. If you are at home, you can opt for vinegar. Fill up the tank with vinegar and allow this to set for a few days.
The next step is to add the agitator. Go for nuts or bolts. Fill the tank about halfway through so that there will be sufficient room for them to move around once you shake the tank. These agitators will scratch away the rust. Proceed to shaking the tank thoroughly. This can take days until you can see the metallic surface of the tank.
After you are satisfied with the rust removal process, you can now flush the tank. You can also use a commercial sealer to prevent the recurrence of rusting. There are fuel-soluble options that work well with motorcycle fuel. Go for a sealer that is slightly thicker than your fuel, like motor oil.
