A jet kit is a collection of jets used to customize the way your carburetor functions and its ability to deliver fuel to power your motorcycle.
The installation process differs from kit to kit. The best thing you can do is to read the accompanying manual which often displays thorough instructions on what you should do to install the jet kit. It involves removing the carburetor, the float bowl, and then installing the pilot and side jets. You may also get a credit slip for a test run to ensure that you have assembled and installed the kit properly.
It is also worth noting that the contents of the kits may vary, depending on the brand. Some kits may include pilot jets while others might not, so do your research to determine which brand offers the kit that can achieve the customization you want.
The Function Of Jet Kits
A jet kit is a great accessory because it eliminates any uncertainty in terms of motorcycle upgrades. The needle is completely adjustable to your liking so you can fine-tune the fuel to air ratio. This is more convenient than purchasing different needles and jets that have a chance of being incompatible with your carburetor.
Make no mistake because jet kits aren’t designed to repair broken engines. They are simply upgrades to improve the fuel to air ratio in the chambers. This will boost the power generation efficiency of your motorcycle which will affect the overall performance of the engine.
Installation Process
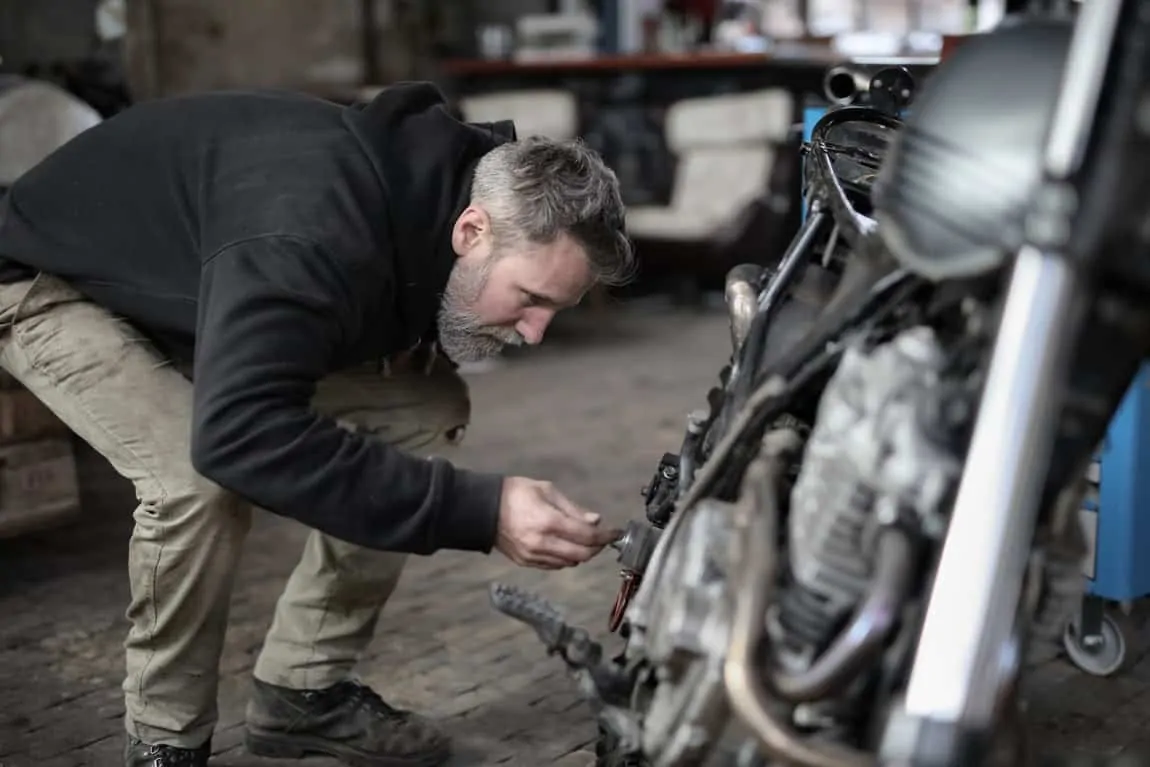
As aforementioned, there will be differences in the installation process so it is best to consult the manual thoroughly. Before starting, remember that you are dealing with carburetors which are composed of tiny and delicate hardware.
Set up shop in a clean environment. Keep a can of aerosol or silicone cleaner nearby. It also helps to keep an eye out for any rusting or signs of erosion.
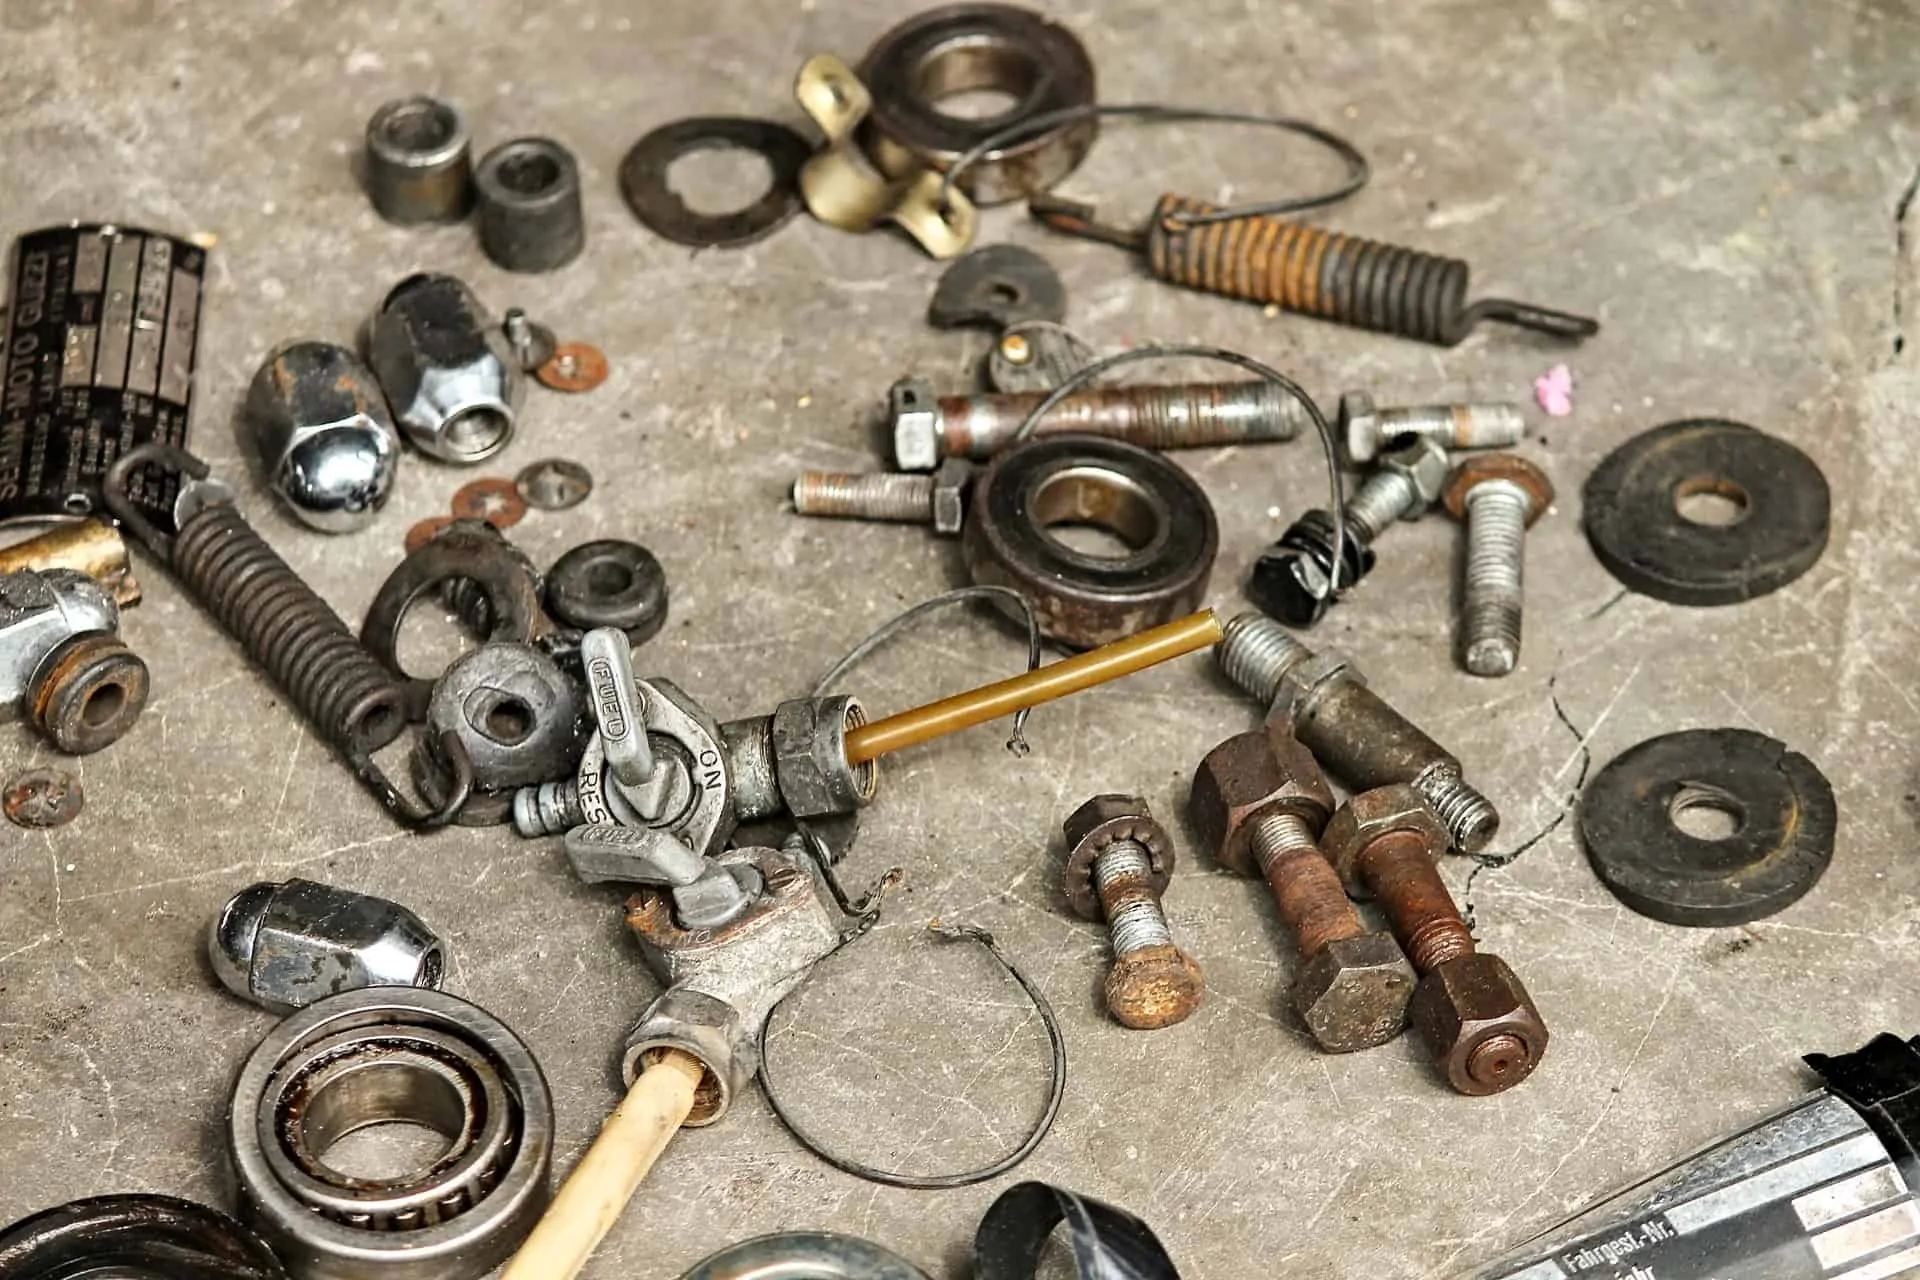
Since the entire process involves dealing with delicate parts that you can easily lose, keep your workspace clean and label all the parts accordingly.
Remove The Carburetors
The first step is to remove the carburetors from the motorcycle. Refer to the motorcycle manual so as to do this process properly. The general rule is to remove the fuel tank. Next, disconnect the fuel hoses that connect the carburetors to the airbox.
Remove the carburetor cables before loosening the manifolds. The manifold clamps are usually bound by Phillips screws (either 1 or 2) and can be loosened with some grease or motor oil.
There will be plenty of hoses to be disassembled so make sure to take note of all the connective points and locations. Take note of the water, fuel, emission, and vacuum hoses by labeling them accordingly. It is also more practical to fully drain all the tanks before disconnecting the hose.
Disassemble The Carburetors
The first thing to remove is the float bowl. Unscrew the Allen screws with the corresponding screwdriver. Take note of the jets and where they go. The main jet should be at the center of the float bowl. The pilot jets should be located on the sides.
Install the appropriate jets from your kit. Use a wrench to prevent old hoses from moving while you are installing the jets. Be careful when handling the floats because the slightest mishandling can damage the way the emissions.
You should also watch out for the “pill” when you remove the emission hose. This metallic pin serves as a guide. It is marked by a normal hole on one side and a chamfered hole on the other. Reinstall the float bowl as well as the diaphragm.
Install The Jet Kit
Keep the needle in place as you slide in the new springs. You know you did a good job when you hear that satisfying “click” sound. Install the cap afterward and then return the carburetor. Take it out for a test run to ensure that everything is functional.

Final Tips
There is a wide variety of jet kits to choose from. The Zerk fitting is the universal set and it comes in the standard size. It comes in a wide range of angles to choose from. It is advisable to go for a fitting with a straight angle because it works well with a grease gun. For the worst-case scenario, you can just get an adapter to make the grease gun fit better.
Another tip is to be patient. Take your time to carefully read through the manual from cover to cover. Rushing the steps can lead to careless mistakes that will require you to redo certain steps. If you are unsure of what to do, do not hesitate to call the customer service line for assistance and clarifications.
It is also important to focus solely on the task at hand. Carb work can be tricky, especially for beginners. Select a clean and quiet place to work so that you can proceed without distractions.