A jockey shifter, also known as the suicide clutch, is a foot-operated clutch and hand-shifter for changing gears. There are plenty of aftermarket kits that you can purchase and install but you can save a lot of money by making one yourself.
Here’s how to make a jockey shifter on your own:
- Check and connect the bungs
- Create the handle of the jockey shifter
- Make the upper and lower bars
- Assemble the pivot
- Attach the shifter arm
- Install the shift linkage
- Add ignition switch to the mount
- Weld all of the parts together
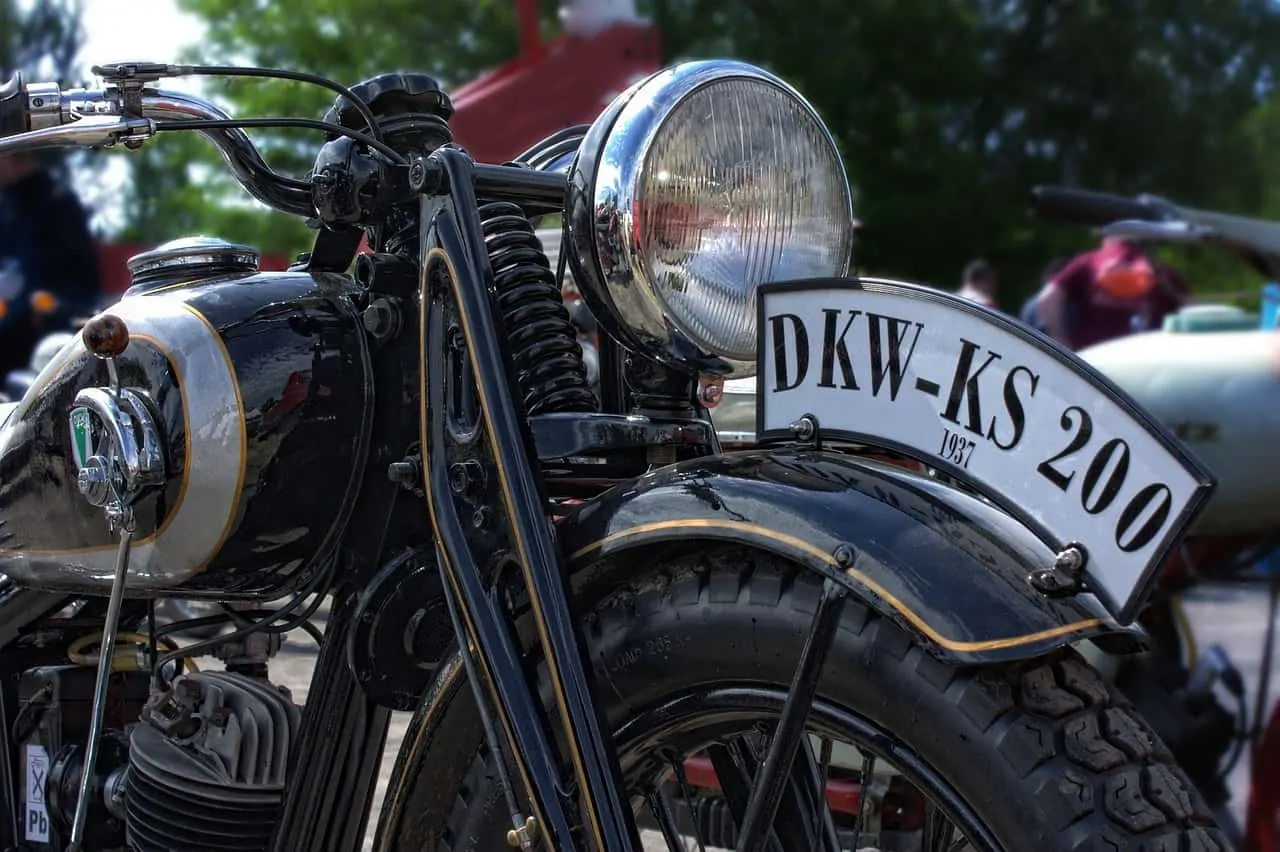
A jockey shifter is evident among classic motorcycle models made in the 40s to 50s. Incorporating it into your modern model can give it a nice vintage touch.
Step By Step Instructions
Check And Connect The Bungs
Make sure that the couterbore bungs are correctly in place at the heads of the engine. The center bung must be mounted on the chassis tab which is located at the middle of the motorcycle engine.
Some jockey shifters need a motor mound. If you will make one for a pan or shovel, check if the bung heads are securely bolted in place. They must be calibrated correctly so that they’ll always match the intake manifold.
The next step is to cut a bar to connect the gap between the two bungs. Measure the length and cut the bar accordingly. Tack it in place so that it wouldn’t budge.
Create The Handle Of The Jockey Shifter
You can create the custom handle by using brass. Make sure that the grip is comfortable. You can make the grip adapt a knife or pistol handle style. Cut down some finger grooves that are evenly spaced so that you can comfortably hold the handle.
Make The Upper And Lower Bars
The upper and lower bars will be located on top and at the bottom of the mount. Measure the bars accordingly and cut them out. Drill attachment holes for better installation. Some recommend milling the surface so that they’ll have a better texture. This will improve your grip compared to when you only have plain, round bars.
Pivot Assembly
Now it’s time to assemble the pivot structure of the shifter. First, loop a threaded bullet through the bottom shift arm. This is where you’ll attach the shifter linkage to control the jockey shifter.
Next, measure the distance for the assembly line. Make sure to clear the path so that no parts are in the way. The average distance is usually 3 ¾ inches. Mark the layout lines on the shifter arm. Do the same vertically to ensure that it is well-supported. The average distance for the latter is 3 ¼ inches but may vary from model to model. Mark the location on the shifter arm.
Attach The Shifter Arm
There are many inexpensive aftermarket shifter arms that you can purchase. Take the shifter arm and drill five evenly-spaced holes for the mounting of a four-speed model. Loop a threated bullet at the bottom for the shifter linkage. Straighten out any bends at the ends. Cut it down to the length. It’s important to drill the holes first before cutting the arm to size as this ensures a tight and gap-free installation.
Place the bullets on the arm and attach it to the shift drum located on the transmission.
Install Shift Linkage
Measure the length to attach both arms together to complete the shift linkage. Make sure to keep the arms as vertical as possible. This position will give you a more seamless forward and backward motion. Arched arms can cause the pivots to move in. This will cause random ups and downs that will make it challenging for you to control your maneuvers.
Create the shift linkage using stainless heim joints and a threaded rod that measures the correct length.
Add An Ignition Switch To The Mount
Adding an ignition switch to the motor mount is an optional step but it can significantly improve the way your jockey shifter operates. Install the ignition switch using a sheet metal housing. This also hides it to protect it and to make the setup cleaner.
Customize the ignition switch by adding a flat spot. This prevents it from rolling once installed. Another trick you can do is by drilling a small hole and attaching a tack or bolt to prevent it from rolling while in use. Once the location is good enough for you, you can sand it down so that it looks less prominent.
Weld All The Parts Together
After you’ve finished measuring and cutting all the bars and parts, it’s time to weld the parts together to have a functional jockey shifter. Double check the fitment to make sure everything is good and seamless.
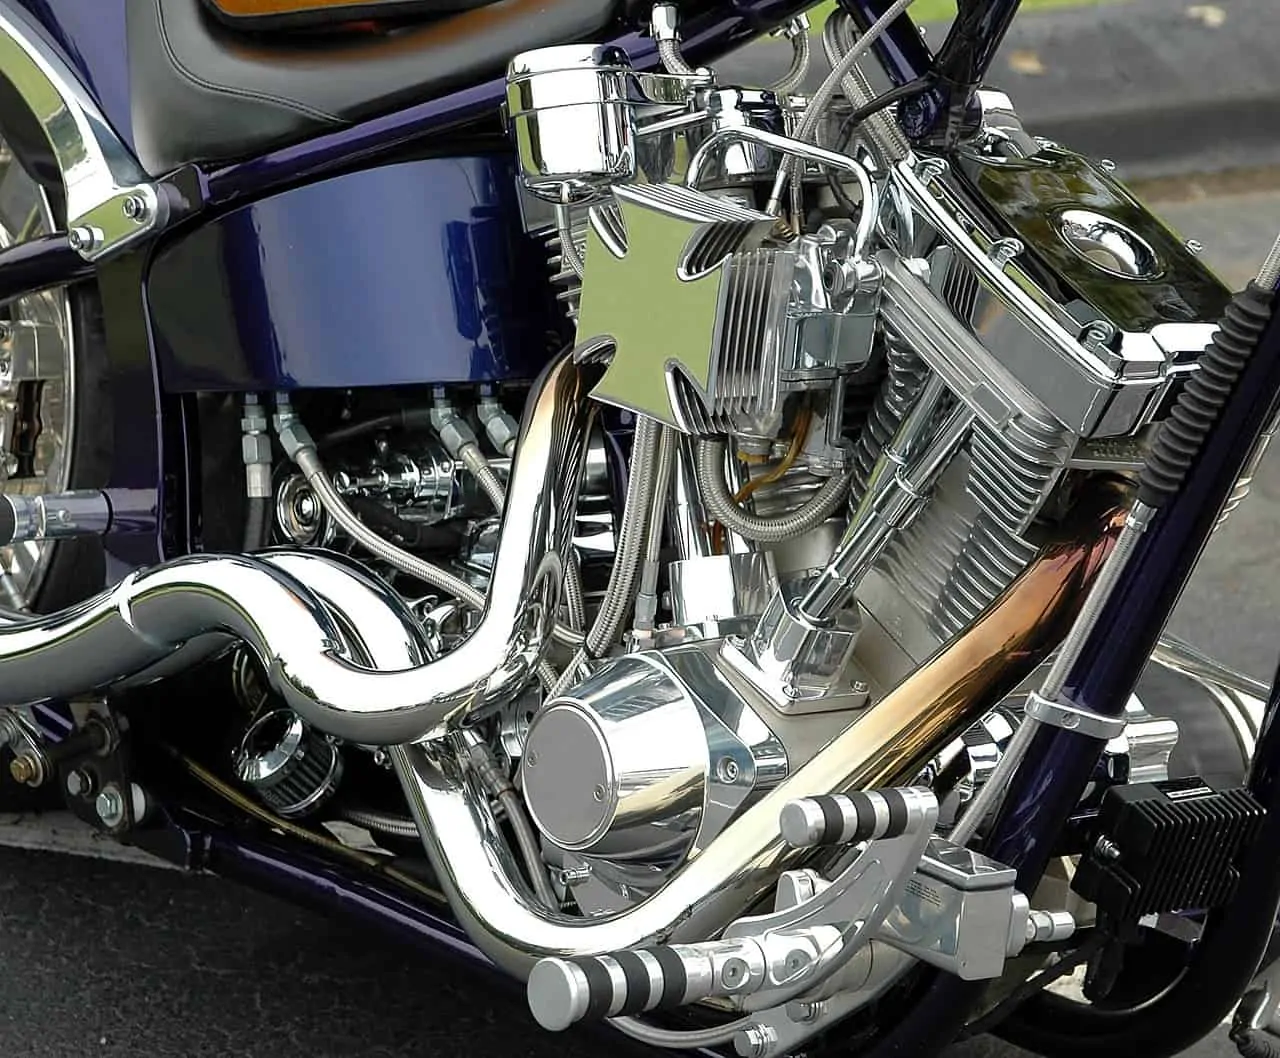
As a final touch, you can send the assembled shifter to a chromer so that everything can be coated in chrome. This makes it look presentable and will make it blend seamlessly with the rest of the motorcycle. Chrome also protects steel by delaying the onset of corrosion and minimizing damage from heat and grease.