
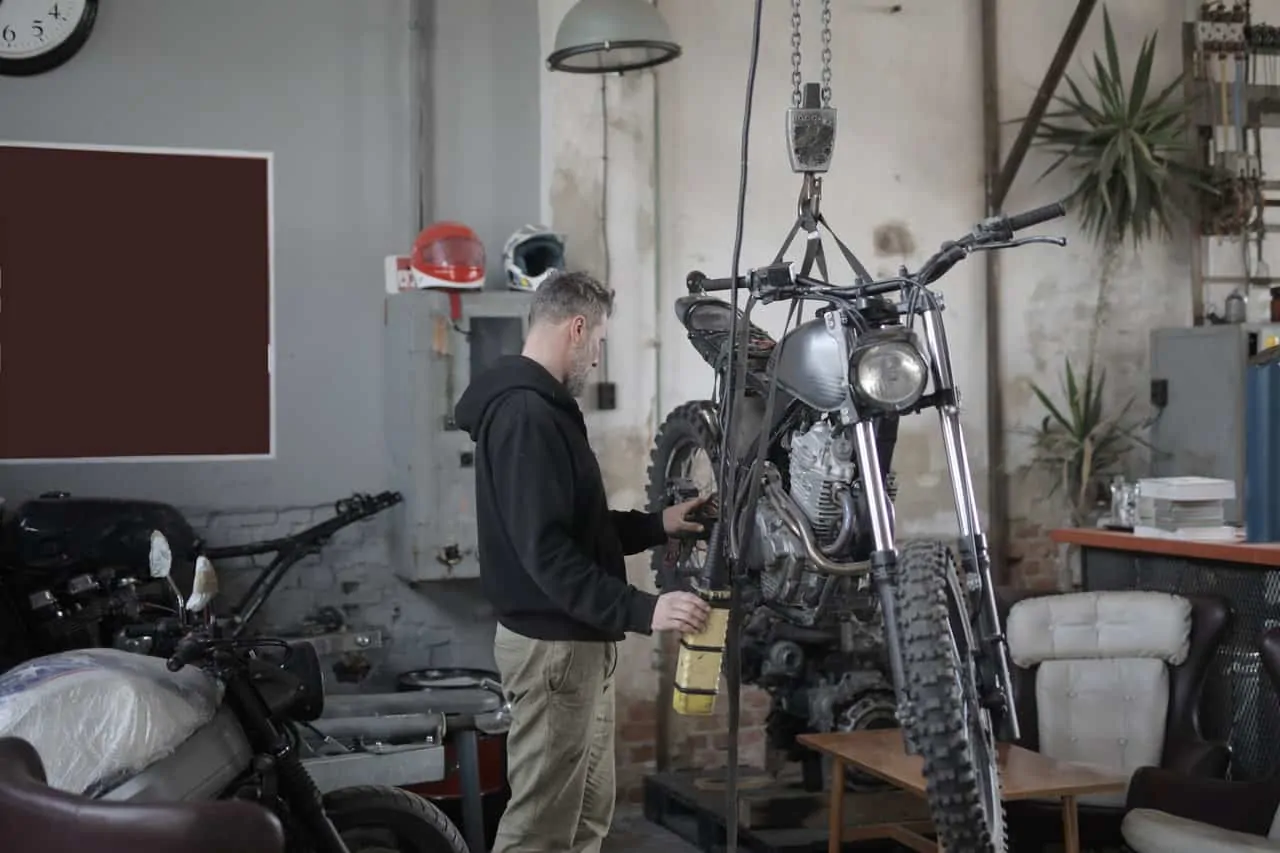
Building a motorcycle from scratch is a fun activity for motorcycle hobbyists. It is also cheaper than buying an entirely new model with the benefit of getting to customize the motorcycle to your tastes.
You need to gather the basic parts necessary to build a functional motorcycle. These parts include the frame, tires, fenders, engine, exhaust, handlebars, seat, accessories, battery, wiring, and other electrical components. After assembly, you need to disassemble everything for painting, chroming, and other aesthetic customization.
You can find these spare parts for cheap in local motorcycle shops. Just make sure that they are in working order before you buy them.
Step By Step Instructions
Motorcycle Frame
This will serve as the foundation of your project. You can scavenge a frame from an old motorcycle if you want something convenient. You can also weld together metal frames to form the shape of the motorcycle model you’re going for.
For example, a chopper frame requires you to modify the head pipe joint so that it is attached to the top from the rail smack on the front frame. You can also tweak the frame so that it is fatter around the tires or to extend its length. Just be sure to constantly check the structural integrity of your frame.
Don’t forget to add the triple tree shape on which you will place the shocks and handlebars. You can now proceed to place the brakes and both tires.
Install The Tires And Fenders
The size and type of tires will depend on the model you are building. Choppers require a fatter rear tire. Others have equally-sized tires. Make sure to align the tires so that you can drive properly. Misaligned tires can cause unnecessary damage to the tires and will likely cause accidents. Make sure that the tires do not hit the fenders.
The fenders serve to protect you from mud splashes. They also repel road debris. Their size should be relative to the size of the tires.
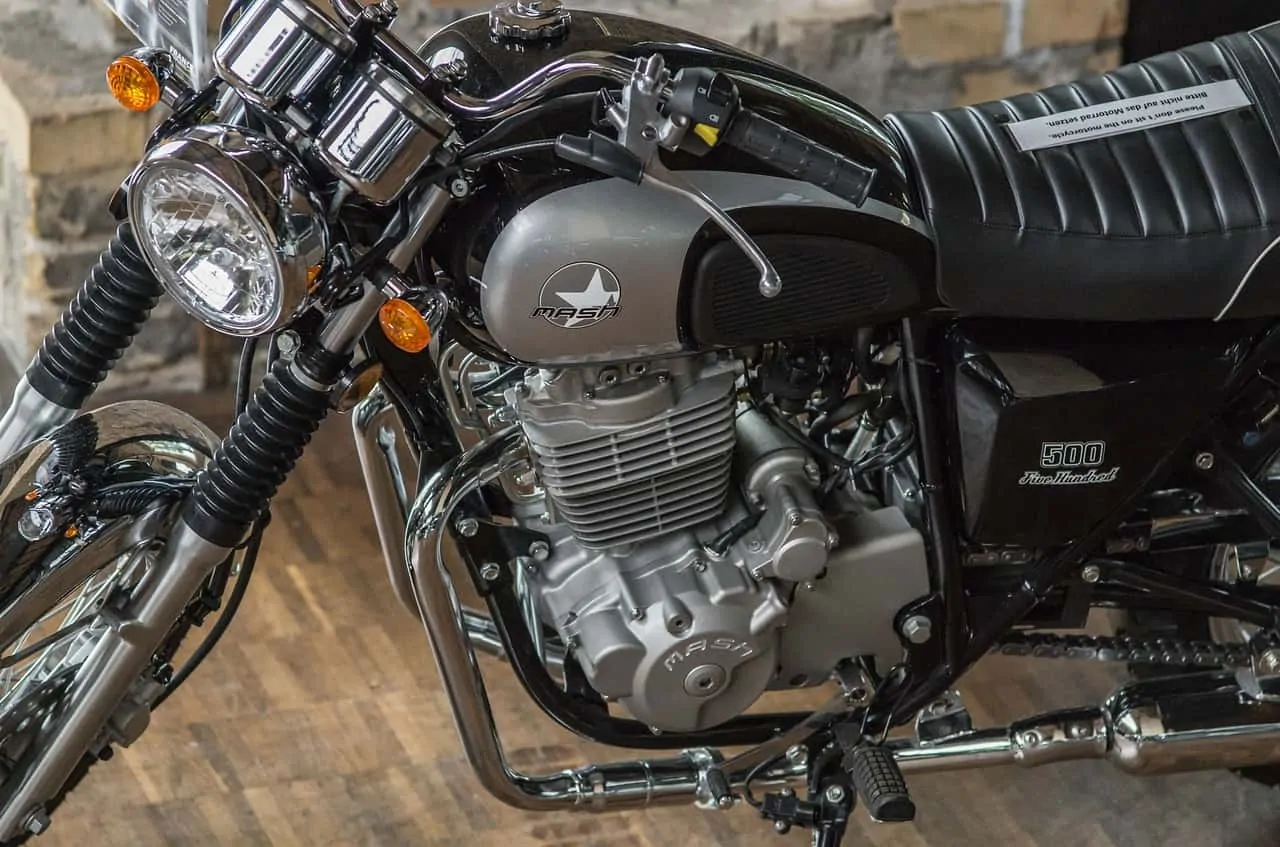
Motorcycle Engine And Transmission
The engine and transmission are responsible for making the motorcycle run. Make sure that the engine you choose has complete parts. Check the case, carburetor, pistons, and cylinder head. As you install the case, make sure that it lines up with the engine and transmission.
You should also properly align the motorcycle chain connecting the drive system to the rear tire. Check the clutch levers, footrests, battery tray, brakes, and oil tanks as you go.
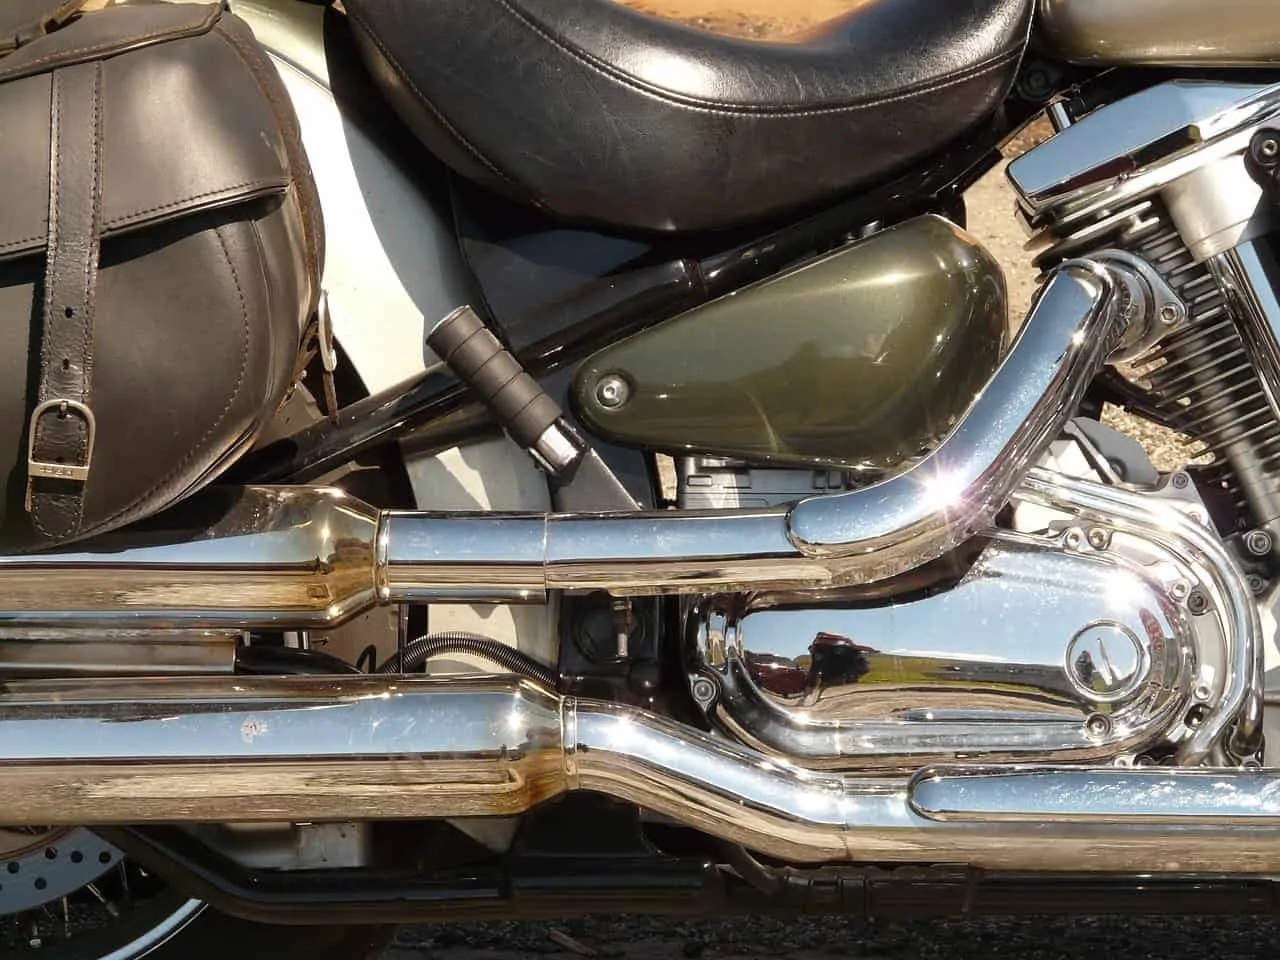
Exhaust System
This part redirects any excessive heat byproducts to prevent your motorcycle from overheating. It is also responsible for making your motorcycle run properly. Take the exhaust pipe and bend it at the angle that suits your motorcycle engine. You can do the bending using welding equipment or you can take the pipe to the shop for the necessary customizations. You can also tweak with the narrowness, the length, and more. This affects the sound of the exhaust pipe.
The pipe should be attached to the cylinder head. Use a mounting phalange, brackets, and welding equipment. You can customize the exhaust pipe by installing a muffler to make it sound quieter.
Handlebars
The handlebars are the steering mechanisms for the motorcycle. To gauge its location, sit on the motorcycle and identify the height and length that’s comfortable for you. It is recommended to place it so that your forearms rest below your elbows to stimulate proper blood circulation.
Handlebars are also pretty to spot in motorcycle shops. Go for one that has the corresponding levers and buttons that you can connect to your engine and transmission.
Installing The Motorcycle Seat
Straddle your motorcycle and identify the most comfortable seating position for you. You can select many different saddle seats in the market, of varying sizes and covers. Some are made of leather while others are from textiles. You can also reupholster old seats for a minimal fee. There should be sufficient padding to keep you comfortable on long rides.
Accessories And Electrical Wiring
Install the motorcycle battery and the corresponding wiring that connects it to the engine and handlebars. The motorcycle battery can be placed under the seat if you want something discreet. Other models have batteries that bulge out at the side. Secure its position with some brackets and welding equipment. Don’t damage the case from mishandling the battery.
The electrical wiring should also be installed to power up the rest of the motorcycle like the horn and headlights. Make sure to connect the correct wiring to the corresponding terminals.
The final touch to fully customize your motorcycle is to add accessories. There are plenty of aftermarket kits that can help customize your motorcycle to your taste. You can install a jet kit, a stereo system, a GPS navigation system, safety lights, and many more.
Final Customizations
Before you weld all the parts together, paint and chrome all the surfaces. You can exercise your creativity by selecting your preferred color palette. Prepare the surfaces first by cleaning them and sanding them down to a smooth surface. Wipe the surface with a wet rag to remove the dust.
Chroming or chrome plating is the final step to seal all the paint in. It provides a protective layer that makes your motorcycle waterproof, weatherproof, and resistant to corrosion. A thin layer of chromium is electronically transferred to a component and laid on the steel or ABS parts. You can do this on your own at home with a chroming kit.
Aesthetic customizations can get messy. Make sure to prepare your workplace by laying down some newspaper or tarp. Work in a well-ventilated area to avoid respiratory issues. Wear the corresponding protective gear like gas masks and goggles so that you won’t harm yourself with the spray paint.
After your final touches, you may now assemble the entire motorcycle and come up with a functional model. Take it out for test runs and make sure that everything is welded into place before you attempt going for a long road trip.